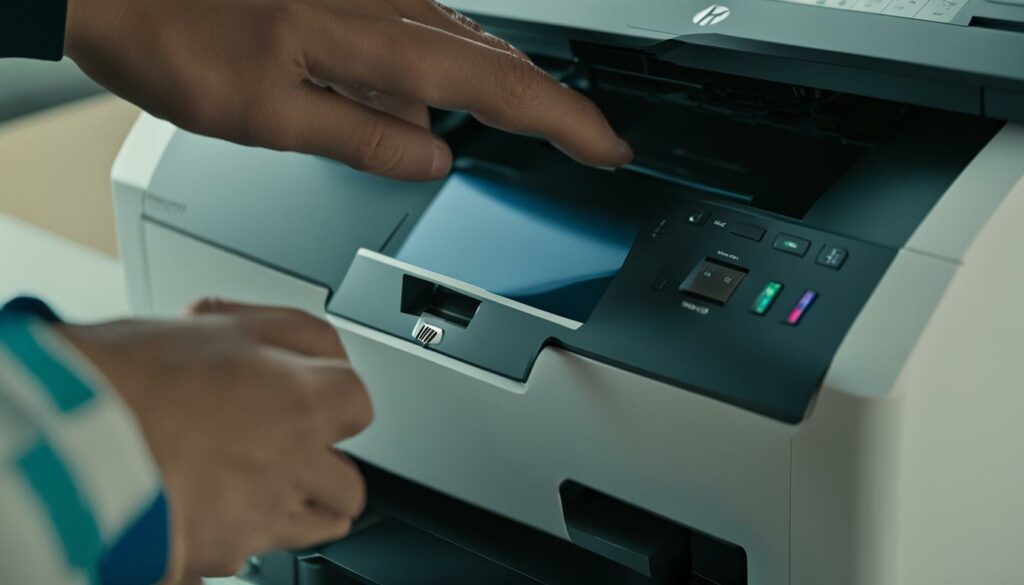
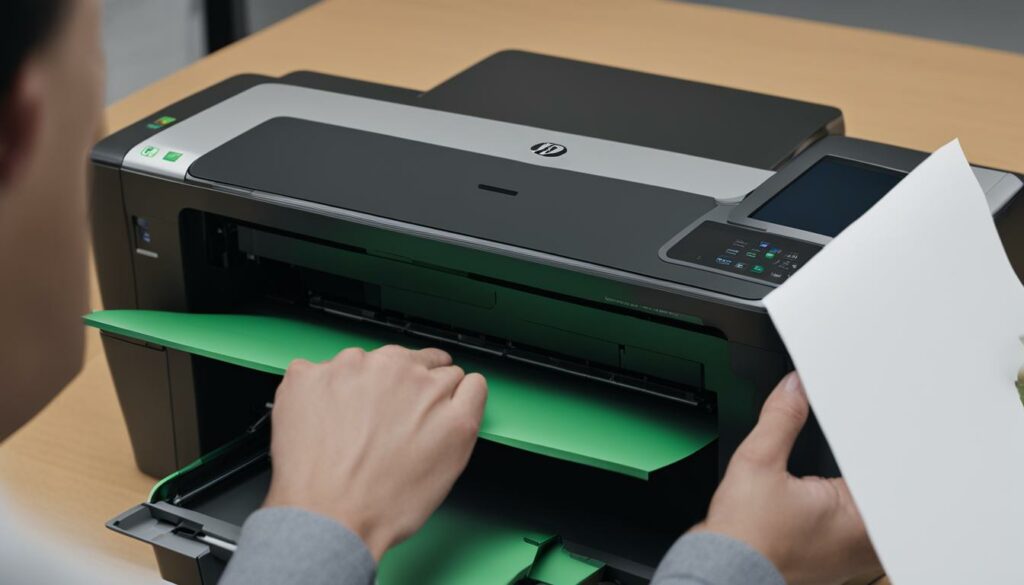
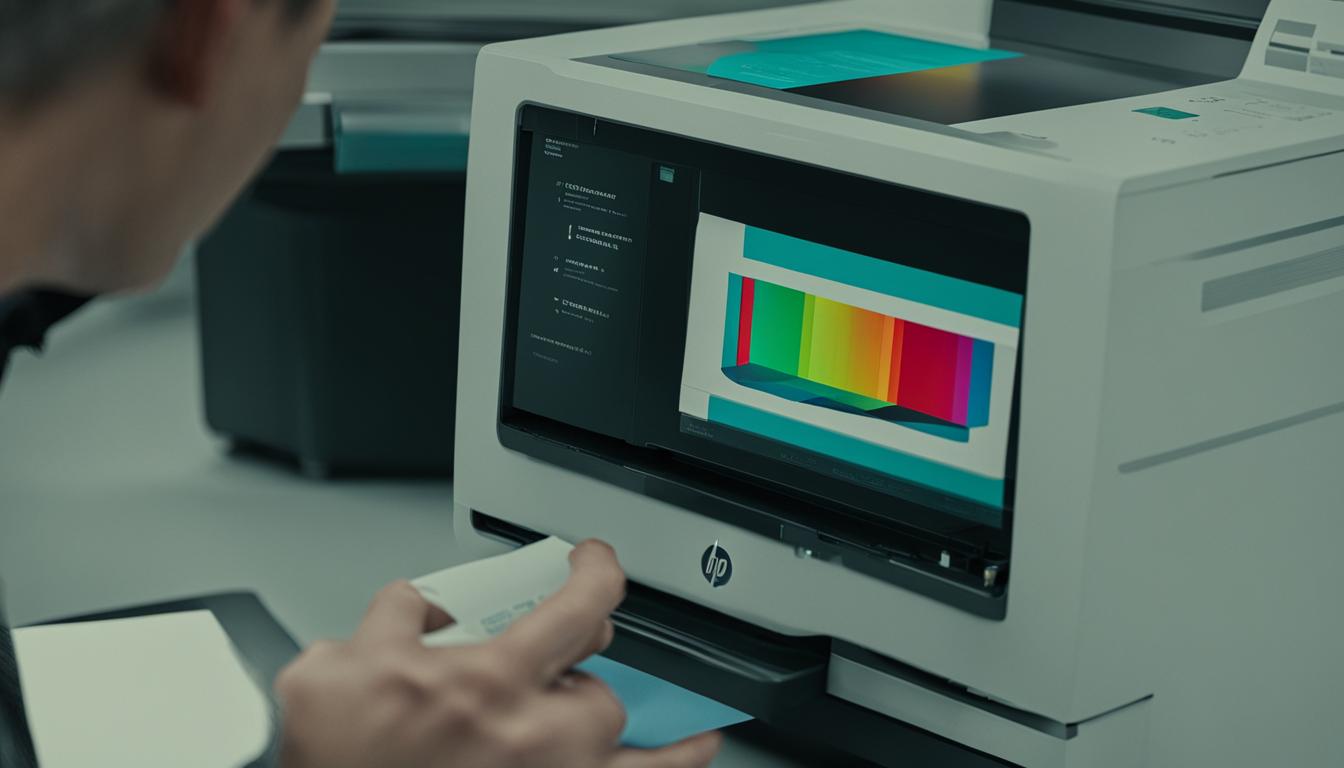
Are you experiencing issues with your HP printer? Printing a test page can help you diagnose and troubleshoot those problems. Whether you want to check print quality, alignment, color accuracy, or paper feed, a test page is a valuable tool. In this step-by-step guide, we’ll show you how to print a test page on your HP printer, ensuring optimal performance and consistent, high-quality prints.
Before we dive into the details, let’s understand the importance of a test page and its benefits. Testing your HP printer with a test page can detect potential issues with print quality, alignment, color accuracy, and paper feed. By regularly printing a test page, you can keep your printer in top-notch condition and address any problems promptly.
Now, let’s jump into the step-by-step process of printing a test page on your HP printer. Follow these instructions closely to ensure a smooth printing experience:
HP Printer Test Page: Types and Benefits
When it comes to troubleshooting and maintaining your HP printer, printing a test page is an essential step. But did you know that there are different types of test pages available, each serving a specific purpose? In this section, we’ll explore the types of test pages and the benefits they offer.
Types of Test Pages
HP printers offer two main types of test pages: the black and white test page and the color test page. The black and white test page is ideal for checking the overall functionality of your printer, including the printhead and toner cartridge. On the other hand, the color test page allows you to assess the color capabilities of your printer, ensuring accurate and vibrant prints.
Benefits of Printing Test Pages
Printing a test page provides several benefits for both troubleshooting and maintenance purposes. Firstly, it allows you to check the print quality, ensuring that your prints are clear, sharp, and free from any smudges or streaks. Secondly, test pages help in detecting alignment issues, ensuring that your prints are properly aligned on the page. Thirdly, they allow you to verify the color accuracy of your printer, making sure that the colors are vibrant and true to the original image. Lastly, test pages help in ensuring proper paper feed, preventing any paper jams or misfeeds during your printing tasks.
Summary
Printing a test page on your HP printer is an essential troubleshooting step to maintain optimal performance. There are two main types of test pages available: the black and white test page and the color test page. These test pages offer various benefits, including checking print quality, detecting alignment issues, verifying color accuracy, and ensuring proper paper feed. By regularly printing test pages, you can ensure that your HP printer delivers consistent, high-quality prints.
How to Print an HP Printer Test Page – Step-by-Step Instructions
To ensure optimal printer performance and diagnose any printer issues, it is important to know how to print a test page on your HP printer. By following these step-by-step instructions, you can easily print a test page and review the results for any potential problems.
Printer Connection and Power
Before printing a test page, make sure your HP printer is properly connected to your computer and powered on. Confirm that the printer cables are securely plugged in and that the printer has a consistent power supply.
Accessing Printer Properties
To print a test page, you need to access the printer properties on your computer. On a Windows computer, go to the Control Panel and select “Devices and Printers.” On a Mac computer, go to System Preferences and select “Printers & Scanners.” Find your HP printer in the list of devices and access its properties or settings.
Selecting the Test Page Option
Once you have accessed the printer properties, navigate to the “Printing Preferences” or “Printer Options” section. Look for an option that allows you to print a test page. This option may be labeled as “Print a Test Page,” “Print Test Page,” or something similar. Select this option to proceed.
Initiating Test Page Printing
After selecting the test page option, click on the “Print” button or a similar command to initiate the printing process. Your HP printer will receive the command and start printing the test page.
Reviewing the Test Page Printout
Once the test page has been printed, carefully review it to check for any issues. Pay attention to the print quality, alignment, color accuracy, and paper feed. If you notice any problems, such as smudged text, misaligned patterns, or incorrect colors, it may indicate a printer issue that needs to be addressed.
By printing a test page on your HP printer and following these step-by-step instructions, you can effectively troubleshoot and maintain optimal printer performance.
| Step | Instructions |
|---|---|
| Step 1 | Verify that your HP printer is connected to your computer and powered on. |
| Step 2 | Access the printer properties or settings through the Control Panel (Windows) or System Preferences (Mac). |
| Step 3 | Find the option to print a test page in the printer properties or settings. |
| Step 4 | Click on the “Print” button or command to initiate the test page printing process. |
| Step 5 | Review the test page printout for any issues with print quality, alignment, color accuracy, and paper feed. |
Reasons to Print an HP Printer Test Page
Printing a test page on an HP printer offers several reasons and benefits. By taking the time to print a test page, you can:
- Check the print quality: Ensure that colors are still vivid and the text is legible.
- Check for paper jams: Identify any issues with paper feeding and prevent potential jams.
- Check ink levels: Obtain an accurate reading of the ink levels to determine when to replace cartridges.
- Perform maintenance: Initiate a self-cleaning cycle to maintain the printer’s optimal condition.
- Check connections: Verify the connection between the printer and computer, addressing any connection issues promptly.
By printing a test page, you can address these common printer concerns and take appropriate action to ensure optimal printing performance.
Reasons to Print an HP Printer Test Page
| Reasons | Benefits |
|---|---|
| Check print quality | Ensure vivid colors and legible text |
| Check for paper jams | Prevent paper feeding issues and potential jams |
| Check ink levels | Obtain an accurate reading for cartridge replacement |
| Perform maintenance | Maintain the printer’s optimal condition with self-cleaning cycles |
| Check connections | Address any connection issues promptly |
Printing a test page on your HP printer is a proactive measure that allows you to catch and resolve any potential issues with your printer’s performance. By regularly printing a test page, you can ensure that your prints maintain high quality, prevent paper jams, monitor ink levels for timely replacement, perform necessary maintenance, and check the connections between your printer and computer. These simple steps can help you keep your HP printer running smoothly and ensure that you consistently achieve the best possible printing results.
Preparing to Print the HP Printer Test Page
Before you can print the HP printer test page, there are a few steps you need to take to ensure everything is set up correctly. Begin by checking the connection and power of your printer. Make sure it is properly connected to your computer and turned on. This will ensure that the printer can communicate with your computer and receive the print command.
Once you have confirmed the printer connection and power, open the printer properties dialog box. This can be done by accessing the printer settings through the Control Panel (Windows) or System Preferences (Mac). In the printer properties dialog box, you will find various options and settings related to your printer.
Next, access the printer properties to select the test page option. This will tell the printer to print a test page instead of a regular document. By selecting the test page option, you can initiate the printing of the test page. Simply click on the print button, and the printer will start printing the test page.
Printer Test Page Preparation Checklist
| Step | Action |
|---|---|
| 1 | Check printer connection and power |
| 2 | Open printer properties dialog box |
| 3 | Access printer properties |
| 4 | Select the test page option |
| 5 | Click on the print button to initiate printing |
By following these steps, you will be well-prepared to print the HP printer test page. This test page will help you assess the functionality and performance of your printer, allowing you to identify any potential issues and take appropriate action.

Now that you have prepared to print the test page, let’s move on to the next step – actually printing the test page. This will give you valuable insights into the print quality, alignment, color accuracy, and paper feed of your HP printer.
Connecting Your Printer for an HP Printer Test Page
To perform an HP printer test page, it is important to ensure that your printer is connected to your computer and powered on. This ensures that the test page is printed successfully and provides accurate results for troubleshooting purposes. Follow these simple steps to connect your printer and initiate the test page printing process:
Checking Printer Connection and Power
- Verify that your printer is turned on and properly connected to your computer.
- Check the USB or wireless connection between the printer and computer to ensure there are no loose or disconnected cables.
- If using a wireless connection, ensure that both your printer and computer are connected to the same network.
Opening the File You Want to Print
- Locate the file or document that you want to print as a test page.
- Open the file using the appropriate software, such as Microsoft Word or Adobe Acrobat.
Choosing the Print Option
- Click on the “File” menu at the top left corner of the software.
- Select the “Print” option from the drop-down menu.
Selecting Your HP Printer
- In the print settings window, choose your HP printer from the list of available printers.
- Ensure that your HP printer is set as the default printer if you have multiple printers connected to your computer.
Printing the Test Page
- Click on the “Print” button to start the test page printing process.
- Wait for the printer to complete the printing process.
- Retrieve the printed test page from the printer’s output tray.
By following these steps, you can easily connect your printer and print a test page on your HP printer. The test page will help diagnose any printing issues and ensure that your printer is functioning properly. Remember to review the test page to check for print quality, alignment, color accuracy, and paper feed.
Step-by-Step Instructions for Printing an HP Printer Test Page
To print an HP printer test page, you need to follow these step-by-step instructions:
- Start by checking the printer connection and power. Ensure that the printer is properly connected to your computer and turned on.
- Open the document or image you want to print. You can do this by navigating to the file location on your computer.
- Choose the print option. Look for the print icon or go to the “File” menu and select “Print”.
- Select your HP printer from the list of available printers. Make sure you choose the correct printer if you have multiple printers connected.
- Access the printer properties. Depending on your operating system, you can typically do this by clicking on the “Properties” or “Preferences” button in the print dialog box.
- Adjust the printer settings if necessary. You can modify settings such as paper type, print quality, and color mode.
- Click on the print button to initiate the printing process. Your HP printer will start printing the test page.
By following these simple steps, you can easily print an HP printer test page and check for any issues with print quality, alignment, color accuracy, and paper feed. It is a valuable troubleshooting step that helps maintain optimal printer performance.
Summary of Step-by-Step Instructions for Printing an HP Printer Test Page
| Step | Instructions |
|---|---|
| 1 | Check the printer connection and power |
| 2 | Open the document or image you want to print |
| 3 | Choose the print option |
| 4 | Select your HP printer |
| 5 | Access the printer properties |
| 6 | Adjust the printer settings if necessary |
| 7 | Click on the print button |

Printing an HP printer test page is an essential troubleshooting step to diagnose and address any issues with your printer. By following these step-by-step instructions, you can easily print a test page on your HP printer and ensure optimal performance.
Troubleshooting an HP Printer Test Page
If you encounter any issues while printing an HP printer test page, there are a few troubleshooting steps you can take to resolve them. Here are some common problems and their solutions:
Printer Connection Issues
If your test page is not printing at all, the first thing to check is the connection between your printer and computer. Ensure that the cables are securely plugged in and that there are no loose connections. If you are using a wireless printer, make sure it is connected to the same Wi-Fi network as your computer. Restarting both the printer and computer can sometimes help establish a proper connection.
Printer Settings
Incorrect printer settings can also cause issues with test page printing. Double-check the settings in your printer properties or settings menu. Verify that the correct paper size, type, and orientation are selected. Make sure that grayscale or black and white printing options are disabled if you want to print a color test page. Adjust any necessary settings and try printing the test page again.
Ink Cartridge Issues
If the test page is printing with missing or streaky colors, it could be due to issues with the ink cartridges. Check the ink levels in your printer software or control panel and replace any low or empty cartridges. Sometimes, ink cartridges can become clogged or dried out. In such cases, you may need to perform a printhead cleaning or contact HP customer support for further assistance.
Contacting HP Customer Support
If you have tried all the troubleshooting steps and are still unable to print a test page, it is recommended to contact HP customer support. They have the expertise to guide you through more advanced troubleshooting techniques and help resolve any printer-related issues you may be facing. Be sure to provide them with all relevant details, such as the model of your printer and the specific problem you are experiencing.
| Problem | Solution |
|---|---|
| Printer Connection Issues | Check cables and Wi-Fi connection, restart printer and computer |
| Printer Settings | Verify correct settings, disable grayscale or black and white printing options |
| Ink Cartridge Issues | Verify correct settings, disable grayscale or black-and-white printing options |
| Contacting HP Customer Support | Reach out to HP customer support for advanced troubleshooting assistance |
How to Interpret the Results of an HP Printer Test Page
Understanding the results of an HP printer test page is crucial in identifying any issues and taking appropriate action. The test page provides valuable insights into the functionality of different cartridges and helps determine if they are printing correctly. By examining the test page closely, you can interpret the results and address any potential problems. Let’s dive into the details of each test and what they signify.
Black Cartridge Test:
The black cartridge test on the HP printer test page checks the functionality of the black ink cartridge. If the printed text or patterns appear sharp and clear, the black cartridge is working correctly. However, if there are smudges, streaks, or missing sections, it indicates a problem with the black cartridge. In such cases, you may need to clean or replace the cartridge to ensure optimal print quality.
Cyan Cartridge Test:
The cyan cartridge test evaluates the performance of the cyan ink cartridge. A properly functioning cyan cartridge will produce vibrant and accurate shades of blue and green. If the printed colors appear washed out, inaccurate, or missing, it suggests an issue with the cyan cartridge. Cleaning or replacing the cartridge can help resolve the problem and restore color accuracy.
Magenta Cartridge Test:
The magenta cartridge test assesses the magenta ink cartridge’s performance. An appropriately working magenta cartridge will deliver rich and vibrant shades of red and pink. If the printed colors appear dull, faded, or inconsistent, it indicates a problem with the magenta cartridge. Cleaning or replacing the cartridge can help rectify the issue and ensure accurate color reproduction.
Yellow Cartridge Test:
The yellow cartridge test examines the functionality of the yellow ink cartridge. A properly functioning yellow cartridge will produce vibrant and accurate shades of yellow and orange. If the printed colors appear pale, washed out, or missing, it suggests an issue with the yellow cartridge. Cleaning or replacing the cartridge can help resolve the issue and ensure vibrant color output.
| Test | Correct Printing | Incorrect Printing |
|---|---|---|
| Black Cartridge Test | Sharp and clear text or patterns | Smudges, streaks, or missing sections |
| Cyan Cartridge Test | Vibrant and accurate shades of blue and green | Washed out, inaccurate, or missing colors |
| Magenta Cartridge Test | Rich and vibrant shades of red and pink | Dull, faded, or inconsistent colors |
| Yellow Cartridge Test | Vibrant and accurate shades of yellow and orange | Pale, washed out, or missing colors |

By analyzing the results of an HP printer test page, you can identify cartridge-related issues and take the necessary steps to resolve them. Regularly printing test pages will keep your printer functioning optimally and ensure consistent print quality with accurate color reproduction.
Conclusion
In conclusion, printing a test page on your HP printer is a simple and effective way to troubleshoot and maintain optimal printer performance. By following the step-by-step guide provided, you can easily identify and address any issues related to print quality, alignment, color accuracy, and paper feed.
Regularly printing test pages allows you to assess the overall functionality of your printer and ensure that it is delivering high-quality prints. It also helps in detecting any potential problems, such as paper jams or low ink levels, so that you can take appropriate measures to resolve them.
Remember, the test page provides valuable insights into the performance of different cartridges, allowing you to identify any specific color cartridge issues. By interpreting the results of the test page, you can determine whether cleaning or replacing the cartridges is necessary to achieve optimal print results.
So, don’t forget to include the printing of a test page as part of your printer maintenance routine. It’s a quick and easy troubleshooting step that can go a long way in ensuring that your HP printer consistently delivers high-quality prints with accurate colors, proper alignment, and smooth paper feed.
FAQ
1. How Do I Print A Test Page On An HP Printer?
To print a test page on an HP printer, ensure that your printer is connected to your computer and powered on. Access the printer properties or settings through the Control Panel (Windows) or System Preferences (Mac) and select the test page option. Initiate the test page printing process, and once the page is printed, review it to check for any issues with print quality, alignment, color accuracy, and paper feed.
2. What Are The Types And Benefits Of An HP Printer Test Page?
There are two types of test pages available for HP printers: a black-and-white test page and a color test page. The black and white test page is used to check overall functionality and detect issues with the printhead or toner cartridge. The color test page is ideal for assessing the color capabilities of your printer and ensuring accurate and vibrant prints. Printing a test page offers several benefits, including the ability to check print quality, detect alignment problems, verify color accuracy, and ensure proper paper feed.
3. How Do I Print An HP Printer Test Page?
To print an HP printer test page, start by ensuring that the printer is connected to your computer and powered on. Open the file or document you want to print, choose the print option, and select your HP printer from the list of available printers. Click on the print button to send the print command to the printer, and it will start printing the test page.
4. Why Should I Print An HP Printer Test Page?
Printing a test page on an HP printer offers several reasons and benefits. It allows you to check the print quality, ensuring that colors are still vivid and the text is legible. It helps in detecting paper jams and ensuring proper paper feed. Test pages also provide an accurate reading of ink levels, allowing you to determine when to replace ink cartridges. Additionally, by printing a test page, you can initiate a self-cleaning cycle to maintain the printer’s optimal condition. It also helps in checking connections between the printer and computer, addressing any connection issues promptly.
5. How Do I Prepare To Print The HP Printer Test Page?
Before printing the HP printer test page, it’s essential to ensure that the printer is connected to your computer and powered on. Verify the printer connection and power status, and then open the printer properties dialog box. From there, you can access the printer properties and settings to select the test page option. Finally, click on the print button to initiate the test page printing process.
6. How Do I Connect My Printer For An HP Printer Test Page?
To perform an HP printer test page, make sure that the printer is on and properly connected to your computer. Open the file or document you want to print, choose the print option, and select your HP printer. Access the printer properties to adjust settings if necessary, such as paper type and color mode. Finally, click on the print button to initiate the printing process and obtain the test page output.
7. What Should I Do If I Encounter Difficulties Printing An HP Printer Test Page?
If you encounter difficulties printing an HP printer test page, there are several troubleshooting steps you can take. Start by checking the printer’s connection to your computer, ensuring it is properly connected and receiving data. Review the printer settings, disabling any grayscale or black-and-white printing options if enabled. If the test page still doesn’t print correctly, there may be issues with the ink cartridges, such as low ink levels. Consider replacing any low or empty ink cartridges. If problems persist, it is recommended to contact HP customer support for further assistance.
8. How Do I Interpret The Results Of An HP Printer Test Page?
Interpreting the results of an HP printer test page involves understanding the significance of different colors and patterns on the page. The black cartridge test checks the functionality of the black cartridge, while the cyan, magenta, and yellow cartridge tests assess the corresponding color cartridges. Correct printing indicates that the cartridges are functioning properly, while incorrect or absent printing suggests issues with the respective cartridges. By identifying which colors are not printing correctly, you can take appropriate measures to address the problem, such as cleaning or replacing the cartridges.
